Building a Telehawk
PG 6
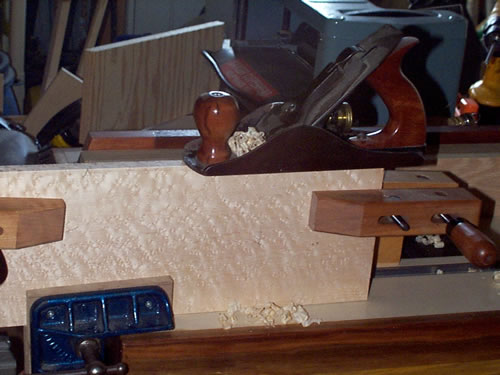
Now that the body is glued up, spend a little
time leveling the top and back surfaces using a hand plane,
cabinet scraper, or sanding block.
The next step is to fit the top. First thing
I do is "book" the glue seam. You do this by clamping
the two halves of the top together with the same face together
(tops in). You then plane the mating edges at the same time
with a hand plane. (this could be done each halfseperately
with a jointer or router table, but I think this works better)
When the edges are planed this way, they don't
have to be perfectly square as the angles will match perfectly.
The next thing I do is lay out the top and
trace the body outline onto it. Be careful to align the glue
seam with the centerline of the guitar body.
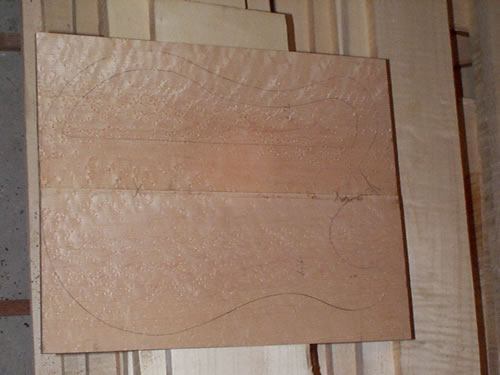
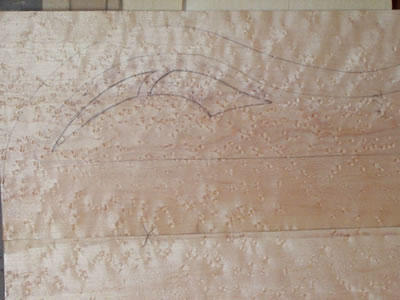
Since the top is going to have an "f-hole"
I also trace the cavity outline. I then draw in the design
for the "f-hole" (this is more of a "cat's
eye" design)
Next trace the body onto the back cap. Make
certain it's arranged as it will be when glued to the body,
and also trace the control cavity.
Now the top and "f-hole" design
are cut out using a scroll saw, or a jig saw. I make sure
to stay well away from the "outline" the top edges
will be trimmed once it's glued on.
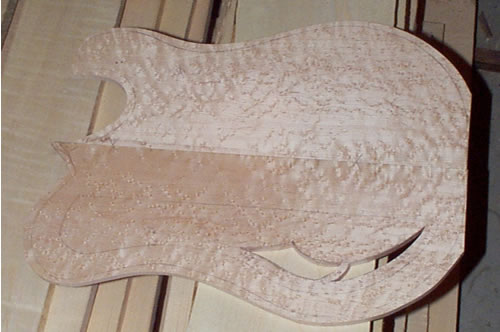
Now's the time to clean up the "f-hole"
cutout; it'll be much harder once the top's glued on.
Page
1
2
3
4
5 6 7