Building a Telehawk
PG 8
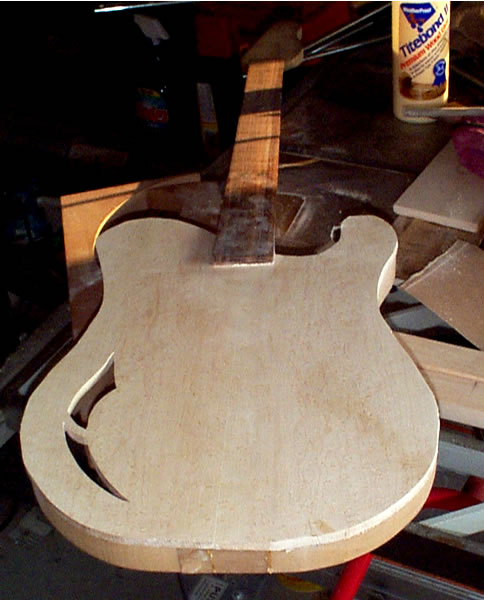
Now that we've fitted the
top we can start the full layout and glueup of the body. First
thing we need to do is ensure our outline still lines up with
the body. Trace the body outline and cavities onto the back
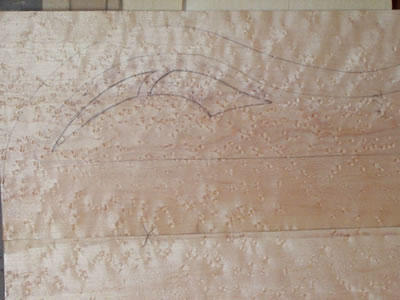
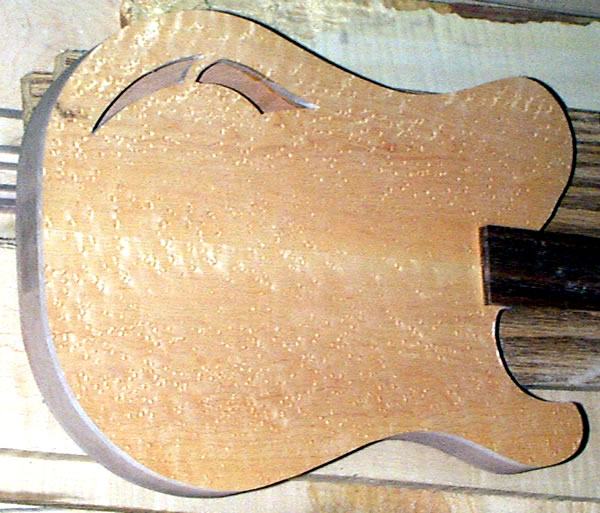
plates and set them aside. Then trace the chamber outline
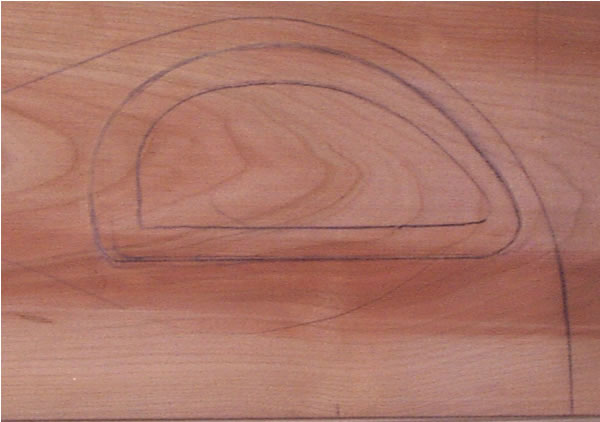
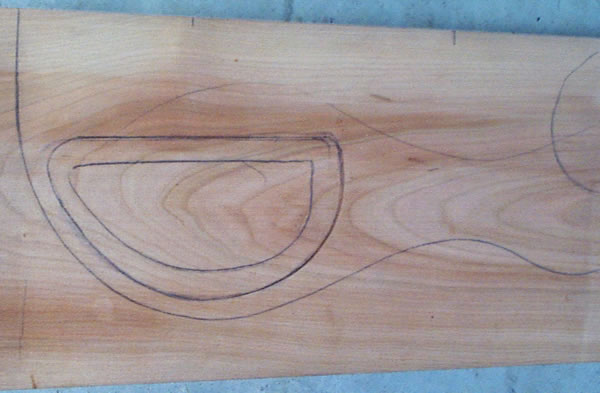
onto the top and then draw the desired "f-hole"
shape. I'm using a modified "cat's-eye" as shown.
Now drill holes inside the
line and cut out the remainder. The best tool is probably
a scroll saw, I used a hand held jig saw for this one.
Now simply glue the top to
the body. Use enough glue. If they move around a lot you can
let the glue set up just a bit before putting the pieces together.
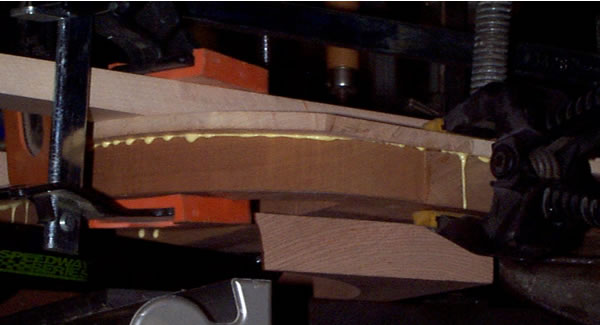
I use clamping bourds to get
even pressure across the top. These are simply longish boards
(these are about 1.5x1.5"s) with a slight "V"
to them; when clamped at the ends the v maintains pressure
in the center. If they were not "v'd" the boards
would flex and the center would lift. First clamp the top
dowmn into place with little pressure and get everything lined
up (enough pressure it doesn't slip, but you can still move
it around a bit). Next I pull the sides in with bar clamps
to get the center seam tight but not using much pressure.I
then tighten the top clamping boards fully and add additional
clamps as needed. I want to see even squeeze-out along the
perimiter. I probably used too much glue this time so I have
a little more mess to clean up.
This is the result after 12
hrs dry time. If you do end up with small gaps you can sand
with fine paper letting it collect in the gaps, and apply
a coat of sanding sealer. You don't have to worry about a
fine finish as you're going to sand it all off later. (the
sealer will likely not take stain the same as the rest, so
be aware...)
Now we proceed to the back.
Remember we traced the cavities onto the back plates earlier.
If we didn't we would have trouble with this next part. I
draw a line about 3/8" larger than the control cavity,
this will be the back cover and 3/8" gives plenty of
room for instlling the screws to secure it later. Next, using
the finest drill bit I drill a hole in the sharpest corner
of the outline and then cut out the cover with the scrollsaw
and very fine blade. My coping and my jewlers saws won't reach
all the way around, and my jig saw blades are too big. If
you don't have a scroll saw you can cutout the back along
the cavity line and use a plastic cover.
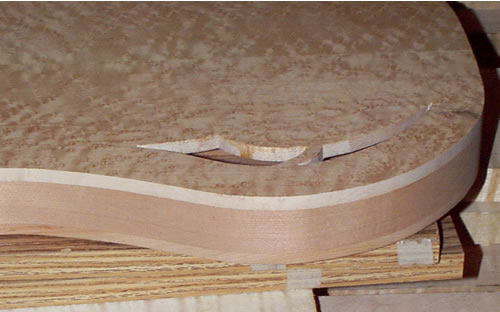
This picture shows the cover
cutout, it's that fine...
Now just glue the back on
like we did the top. After everything sets rough trim the
caps close to the body sides in order to minimize sanding.
(I used a bandsaw.
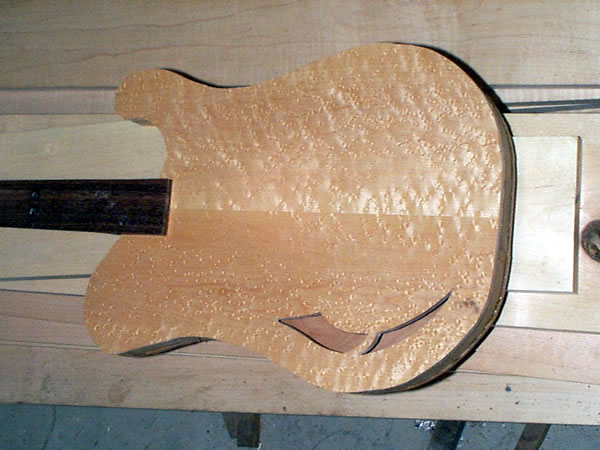
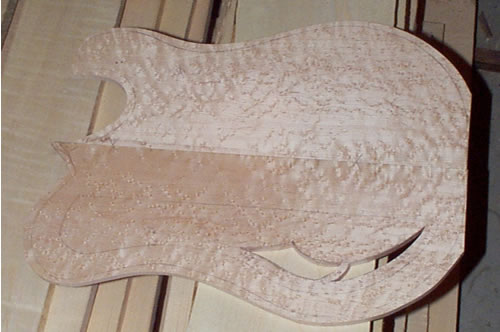
Next thing to do is sand the
edges smooth. I used a spindle sander. Of course it could
be done with rasps and sanding blocks or various power sanders.
Either way you still have to use blocks and paper to get into
the corners near the neck. Here's the results.
Notice how tight the glue
seams are.
Page
1
2
3
4
5 6
7 8