Headstock Repair: the rest of the story
Now the glue has dried, we can continue the
work. First thing we do is mark for new tuner holes. Start
by laying a straight edge along the edges of the existing
holes and drawing alignment lines. Next thing to do is space
and mark where the new holes will be within the alignment
lines. To do this I normally use a vernier caliper, but since
this lesson is how to do the work with very basic tools, I
used a crescent wrench. First set the jaws to distance between
the same edge of two of the existing holes. Place one edge
alont the inside edge of the last existing hole and draw a
line between the alignment lines. Place the same edge of the
wrench along the other side of the same tuner hole and draw
a second line.
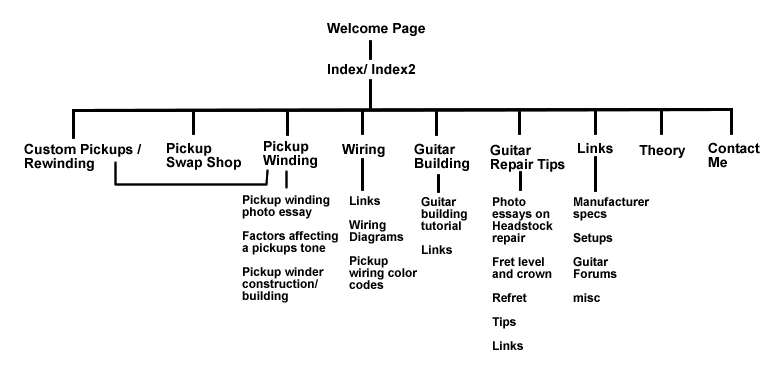
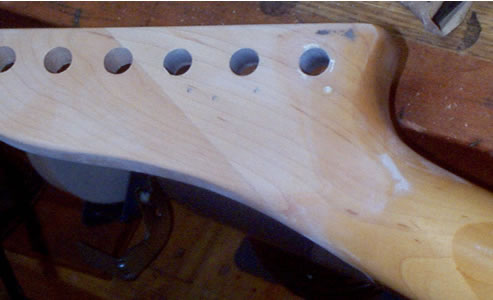
This picture shows marking the lines (the second
line is already done)
Now use the lines drawn as if they were the
last existing hole. You will wind up with the new holes marked
as small squares. Draw an X connecting the corners of each
square to locate the center. It will look like this.
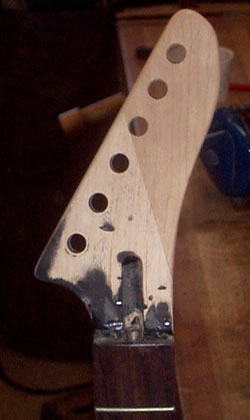
Next, use a nail or something similar to center
punch each hole location at the center of the X. Use the existing
holes to determine the correct bit size (in this case 7/16)
and drill the new holes. Have a piece of scrap wood under
the headstock to prevent the back from splitting out. Also,
make certain to drill and mark from the face. The large body
of the tuners will hide any minor chipout which might occur.
(a drill press must be used. a cheap press that converts a
hand drill into a press is probably adequate) Now we draw
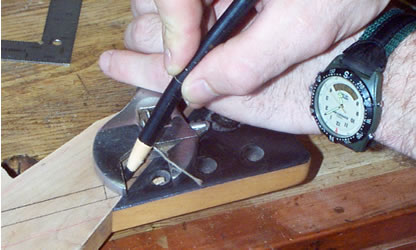
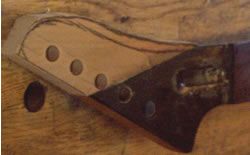
our new outline, using the holes as a guide.
picture showing holes drilled and outline sketched.
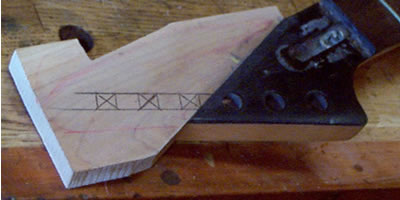
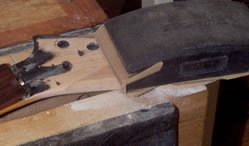
Now using a coping saw (I also used a straight
saw for the straight cut) cut the profile out as close to
the line as you are comfortable with.
 here it is cut out
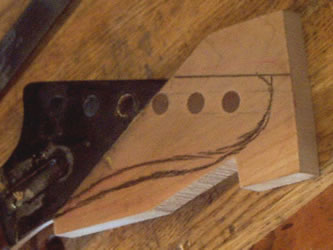
Now use a rasp to remove the areas which need
heavy shaping, be sure to stay short of the final desired
level as there will be alot of sanding to remove the rasp
marks.
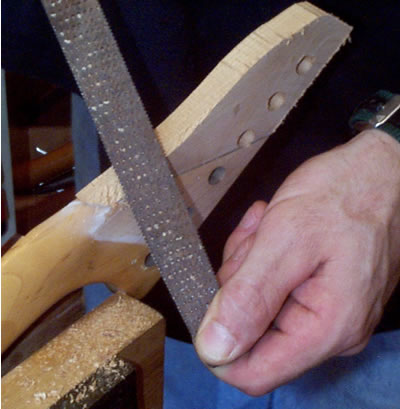 profiling w/ rasp
Next, using a sanding block and a pipe or something
similar, we sand to smooth everything out starting w/ 60grit
and working up to 320grit.
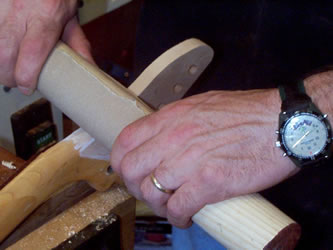 
And we wind up with this.
It is ready for finish!
I'm not going to finish this one, remember
it is just for a junk guitar to test my pickups in.
Doing this repair "the hard way"
took about 2 hrs not including dry time. Normally this job
would have required less than 1hr. (I prefer to book joints
w/ a plane regardless)
|