Routing a finished body for
a pickup isn't hard. Here's how I do it:
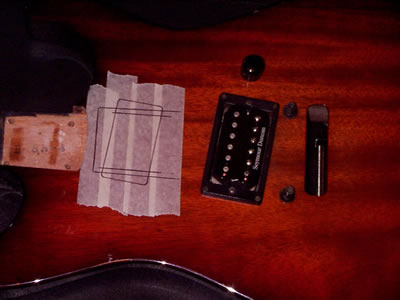
First thing I do is tape over
the area to be routed with masking tape. Then using a straight
edge along the sides of the fretboard transfer the edge taper
(extended) and the end of the fretboard to the tape. Then
using the strings as a guide transfer the 2 E strings to the
tape. And finally transfer the outline of the pickup, in this
case a humbucker so the mounting ring was used. It will now
look like this:
Now I trace the outline of
my router template to the tape to verify alignment (in red
here)
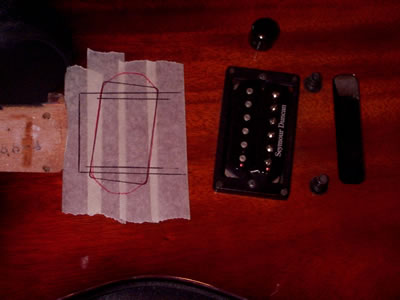
note that the router template
lines extend beyond the inner ring marks. I have already used
this template previously (made from 1/2" hardboard) so
I know it works. If unsure draw the outline of the mounting
ring as well. I now take an x-acto knife and cut thru the
finish along the cavity outline, this helps minimize any chance
of the finish chipping along the edges.
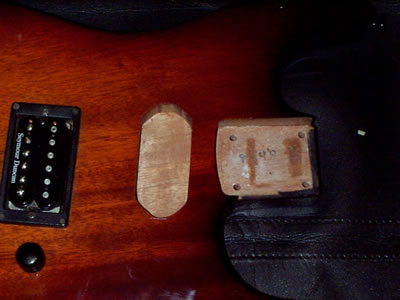
The next step is to remove
most of the material using a forstner bit. I did it freehand
using a hand drill. Leave 1/8-3/16" of depth to be removed
by the router later... It now looks like this.
/
Next the template is attached
w/ double stick carpet tape and the cavity cleaned up. I use
a rotozip which I made a router base for because it runs at
30,000rpm for clean cuts, and it is easy to maneuver. A laminate
trimmer type router would also work well. This is the routed
cavity... note that for some pickups it may be necessary to
drill slightly deeper pockets at the ends of the cavity with
a forstner bit to allow for the dropped feet of the pickup
baseplate.
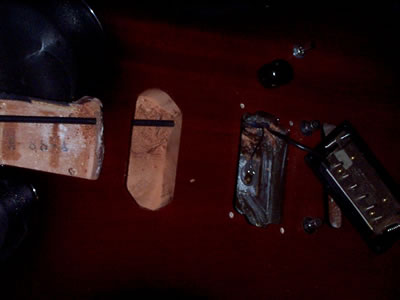
The next step is to drill
for the pickup wires. I use a 12" long by 3/16"
diameter drill for this, I also have one which is 1/4"
for bigger bundles (I have a local supplier where these bits
can be bought reasonably priced) The hole is started flush
w/ the bottom of the neck pocket and drilled until it meets
the bridge pickup cavity as shown below:
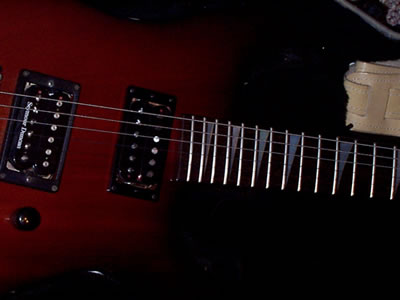
It's a good idea to brush
on a coat of laquer or other sealer at this point, but not
critical. And this is the final result after the pickup is
installed: